

How to Change Cabinet Color and Restore Kitchen Cabinets for a Fresh New Look Without Full Replacement
Changing your kitchen appearance does not always require a full renovation. One of the most effective and budget-friendly ways to upgrade your space is to change cabinet color and restore kitchen cabinets. This process can completely transform the look of your kitchen, making it feel modern, clean, and more valuable without the high cost of replacing everything.
In this article, you will learn step-by-step methods, materials needed, and professional tips to help you successfully refresh your kitchen cabinets and bring them back to life.
Why Change Cabinet Color and Restore Kitchen Cabinets?
Kitchen cabinets are one of the most visible parts of your home. Over time, they can become faded, stained, scratched, or outdated. Instead of replacing them, restoring and repainting is a smart solution.
Here are some benefits:
Cost-effective compared to full cabinet replacement
Improves kitchen appearance instantly
Increases home value
Allows customization of color and style
Environmentally friendly by reducing waste
When you change cabinet color and restore kitchen cabinets, you are not just improving aesthetics—you are also extending the life of your cabinetry.
Step 1: Evaluate the Condition of Your Cabinets
Before starting, inspect your cabinets carefully. Not all cabinets are good candidates for restoration.
Check for:
Water damage or swelling
Loose hinges or broken parts
Deep cracks in wood
Mold or severe wear
If the structure is solid, you can proceed with restoration. If not, repairs may be needed before painting or refinishing.
Step 2: Choose the Right Cabinet Color
Color selection is one of the most important steps when you change cabinet color and restore kitchen cabinets. The right color can brighten your kitchen and match your interior style.
Popular cabinet colors include:
White: Clean, modern, and timeless
Gray: Elegant and neutral
Navy blue: Bold and stylish
Sage green: Natural and calming
Black: Luxurious and dramatic
When choosing a color, consider lighting, countertop material, and flooring. Light colors make small kitchens look bigger, while dark colors create a rich, high-end feel.
Step 3: Gather Your Tools and Materials
To properly restore kitchen cabinets, you will need the right tools. Preparation is key for a smooth finish.
Basic supplies include:
Screwdriver
Sandpaper (120–220 grit)
Wood cleaner or degreaser
Painter’s tape
Primer (high quality)
Cabinet paint (oil or latex-based)
Paint rollers and brushes
Drop cloths
Protective gloves and mask
Optional tools:
Electric sander (for faster work)
Spray gun (for professional finish)
Step 4: Remove Cabinet Doors and Hardware
For best results, remove all cabinet doors, drawers, handles, and hinges. Label each piece so you can easily reinstall them later.
This step allows you to:
Paint evenly without obstructions
Avoid drips and uneven edges
Work more efficiently
Place screws and hardware in labeled bags to avoid confusion.
Step 5: Clean the Cabinets Thoroughly
Kitchen cabinets collect grease, dust, and dirt over time. Cleaning is essential before painting.
Use a strong degreaser to remove:
Cooking oil buildup
Dust and grime
Sticky residue
After cleaning, let the cabinets dry completely. Skipping this step can cause paint to peel later.
Step 6: Sand the Surface for Better Adhesion
Sanding helps the paint stick better and creates a smooth surface.
Use:
120-grit sandpaper for rough areas
220-grit sandpaper for finishing
Lightly sand all surfaces until the gloss is removed. You don’t need to strip the wood completely—just create a texture for primer and paint to grip.
After sanding, wipe away dust using a damp cloth.
Step 7: Apply Primer for a Strong Base
Primer is essential when you change cabinet color and restore kitchen cabinets. It ensures even color and long-lasting durability.
Benefits of primer:
Improves paint adhesion
Blocks stains and old colors
Creates a smooth base
Apply one or two thin coats and let it dry fully before painting.
Step 8: Paint the Cabinets
Now comes the transformation. Choose a high-quality cabinet paint designed for durability.
Painting tips:
Apply thin, even coats
Use a brush for corners and a roller for flat surfaces
Allow proper drying time between coats
Apply at least 2 coats for best coverage
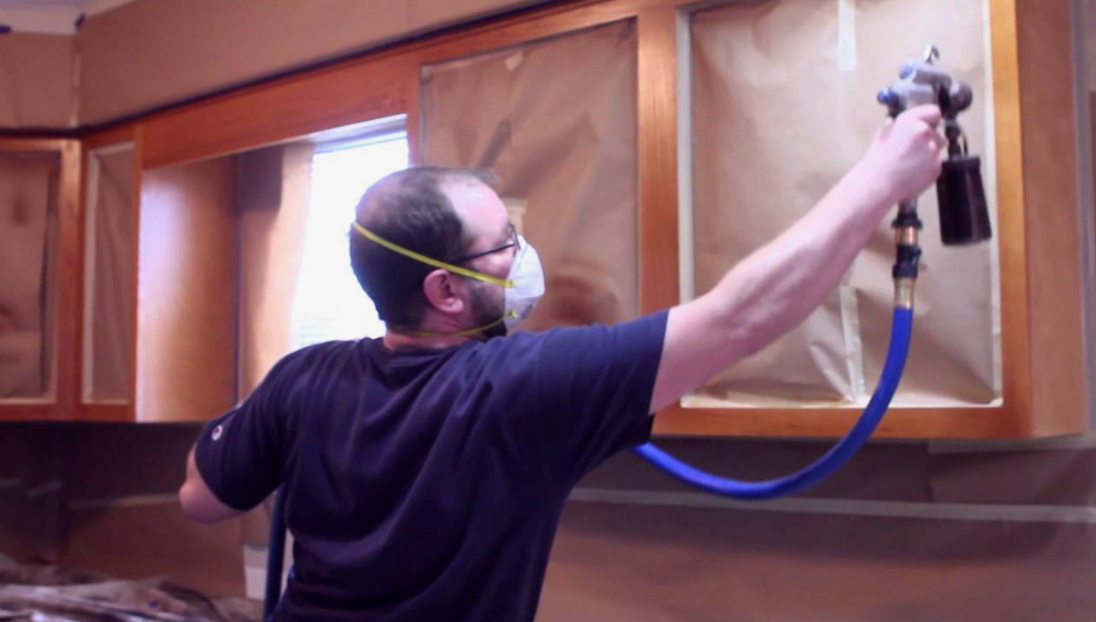
If using a spray gun, maintain steady movement to avoid drips.
Take your time during this step. The final finish depends heavily on how carefully you apply the paint.
Step 9: Reassemble Cabinets
Once the paint is completely dry, reinstall all doors, drawers, and hardware.
You can also upgrade your kitchen by:
Replacing old handles with modern designs
Adding soft-close hinges
Installing new knobs or pulls
Small hardware changes can enhance the final look significantly.
Step 10: Seal for Long-Term Protection
To make your work last longer, consider applying a clear protective sealant. This helps protect against:
Moisture
Scratches
Heat damage
Daily wear and tear
This step is especially important for high-traffic kitchens.
Common Mistakes to Avoid
When you restore kitchen cabinets, avoid these common errors:
Skipping cleaning or sanding
Using low-quality paint
Applying thick coats of paint
Not allowing proper drying time
Ignoring primer
These mistakes can lead to peeling, uneven color, or poor durability.
DIY vs Professional Help
You can choose to do it yourself or hire a professional.
DIY is best if:
You have time and patience
Cabinets are in good condition
You want to save money
Hire a professional if:
Cabinets are heavily damaged
You want a flawless finish
You lack tools or experience
Both options can deliver great results when done correctly.
Final Thoughts
Learning how to change cabinet color and restore kitchen cabinets is one of the most effective ways to upgrade your kitchen without spending thousands of dollars. With proper preparation, quality materials, and careful application, you can achieve a fresh, modern look that completely transforms your space.
Whether you choose soft neutral tones or bold modern colors, cabinet restoration gives your kitchen a new identity while preserving the structure you already have. It’s a smart, sustainable, and highly rewarding home improvement project that adds beauty and value to your home.